Last week I promised to discuss how winemakers assess the right time to pick their grapes.
Given Rob has been chatting to both Kim Anderson and Paul Henschke today about exactly that, what better time than now?!
Just quickly…
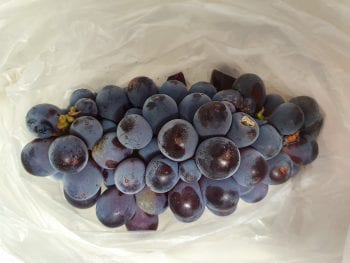
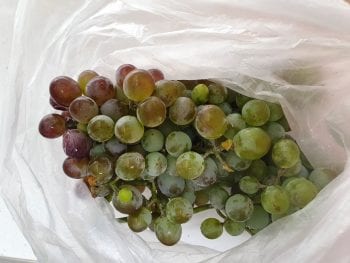
It looks like the Pinot Noir for Sparkling will be ready by this time next week. The Sauvignon Blanc probably the week after that and we should also be able to pick the Chardonnay next week as well.
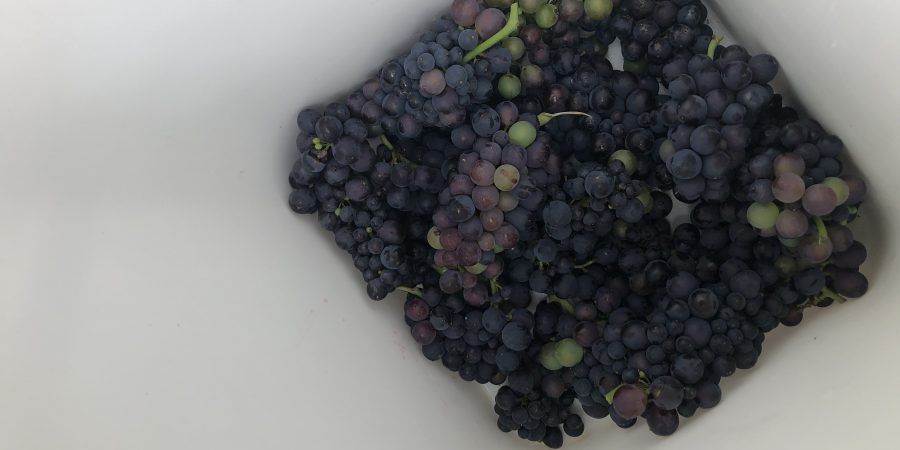
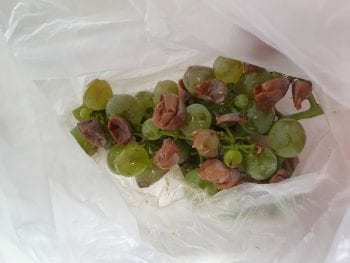
Here is a photo of the Pinot…

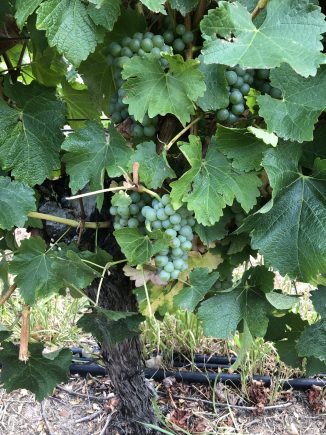
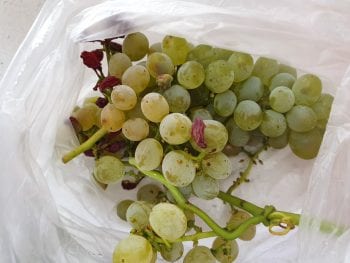
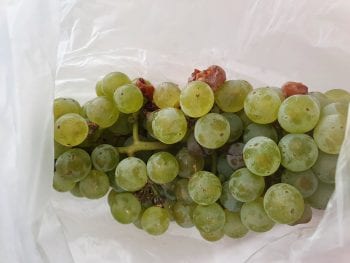
And the Savignon Blanc…
With your March Jockey Club packs also due out next week, Rob is going to have his work cut out for him!
Let’s hope he remembers that packing up your orders is the priority!
Now, where were we?
I’m going to cheat a little this week. Those of you who have been with me since the early days would remember I tackled this topic a few years back with my own maturity assessment of the grapes from a block of vines down on the Adelaide Plains. This one block grows a heap of different varieties. Super handy for making side-by-side comparisons.
So, if you’re newish to this blog or your memory doesn’t stretch back two years (join the club!) then this post will help to explain how winemakers decide when to harvest.
Enjoy!
For those of you who don’t know, I’m a bit of a science geek.
So, you can imagine how excited I was at the prospect of turning my kitchen into a laboratory this week. (…possibly a little too excited…)
We’re getting to the business end of the season. The grapes are getting ripe and almost sweet enough to pick. But how do you decide when to pick?
By testing the sugar content of the grapes, of course!
But how do you do that Maree? Oh, I am SOOO glad you asked!
Sampling
Growers, viticulturists and wine-makers are all paying VERY close attention to what is happening in the vineyard at the moment. They will be regularly taking samples of grapes to test for maturity.
To get a representative sample, it’s important to pick several bunches from different vines across the rows.
Best practice is to pick around 20 bunches per plot. And to select the bunches as randomly as possible. Which admittedly is pretty hard to do when you’re a human. Our eyes automatically go to the big, fat bunches (those ones are also easier to see amongst the foliage). But the idea is to try and select bunches that are representative of the entire plot. So, the ripe ones as well as the ones that are a bit further behind. This method will result in juice which is pretty similar to what it would be if you picked the entire plot.
My “assistant” visited the plot of vines down the Hill earlier this week and sampled all of the varieties. Unfortunately, there just aren’t enough grapes on the rows in that plot to sample 20 bunches, but one or two bunches will certainly give us an idea of how mature the grapes are.
Then he brought them back to my lab/our kitchen!
Here is a photo of the varieties side by side so you can see the differences in shape and size.
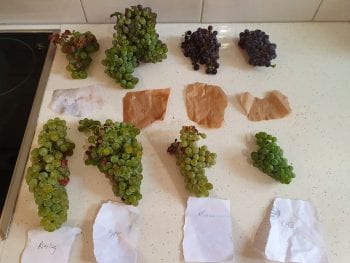
From top left to bottom right the varieties are…
Vermentino, Grenache, Merlot, Tempranillo, Riesling, Semillon, Fiano, Sauvignon Blanc
Check out that Grenache bunch!
(Note: before he came to his senses, my “assistant” tested the Shiraz and Cabernet in the field which is why they are missing from these photos. The Chardonnay is missing because it has been very heavily damaged by birds)
Squishing
(that, of course, is a technical term)
The next step is to press the grapes to release the juice.
And there is no fancy machine specially designed for this job (well, there probably is, but I don’t have one in my kitchen). Just give them a good old fashioned squeeze with your hands (in a plastic bag to capture the juice). Then pour the juice into a container through a sieve.
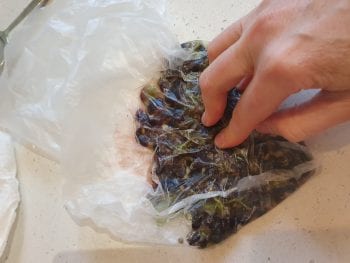
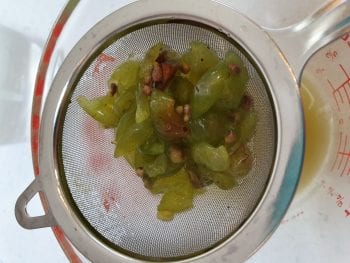
The one key thing to remember here is to make sure all of the berries have been squished. Even the smaller harder ones. Actually… especially the smaller harder ones.
Remember, you want a representative sample of juice. You want your sample to be as close to what it would be if all the grapes were picked and crushed. Extracting the juice from just the big ripe berries will inflate your results.
Maturity analysis
That IS the technical term. It just means “measure the amount of sugar in the grapes”.
If you have been following along with past posts, then you know all about “degrees Baumé (Bé°)” and how 1 Bé° roughly results in 1% alcohol once the grapes are fermented.
If you’re a bit sketchy on those details, then you might want to refresh your memory here.
So, this measurement is a pretty good guide for a winemaker. It tells him/her pretty much exactly when the grapes are ready to pick (depending on what style they have in mind). This test gets done a lot during the pointy end of the growing season. From once weekly as the grapes start to ripen to up to every couple of days as they get closer and closer to the optimal sugar levels.
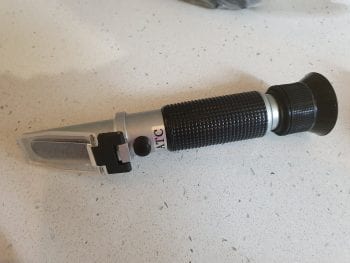
There are a couple of ways to test the grape juice once it is pressed.
The quickest and simplest way is to use a refractometer. They are sometimes used in the lab (although there are more accurate ways of doing it there), but it is super handy for use in the field. You can basically do it in the vineyard and get a result immediately.
Here are a couple of photos from my kitchen laboratory…
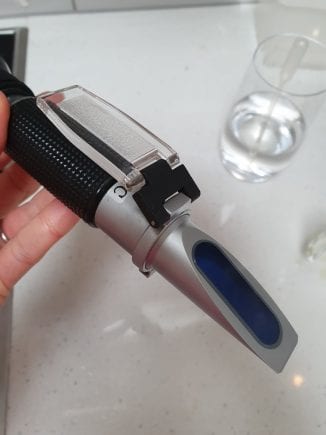
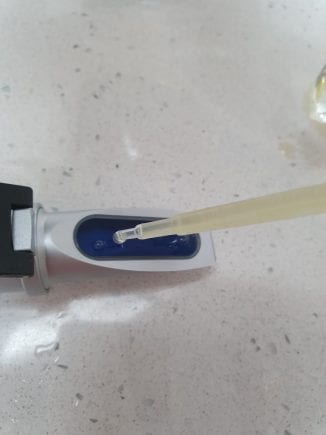
You just pop a couple of drops of juice on that blue bit there, close the cover and then look through the eyepiece for the reading. It looks a bit like this…
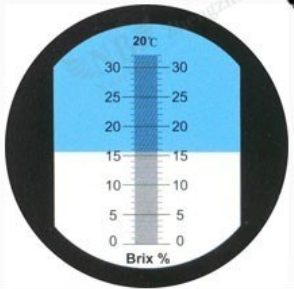
Ignore for the moment that the scale is labelled Brix %… this is just another scale for the same thing. A very quick conversion turns it into Bé°
Loving our blog? Sign up for weekly updates straight to your inbox…
And the results?
Tempranillo
10.3 Bé°
Merlot
11.4 Bé°
Grenache
7.3 Bé°
Vermentino
11.8 Bé°
Fiano
12.9 Bé°
Sauvignon Blanc
7.8 Bé°
Semillon
11.9 Bé°
Riesling
11.9 Bé°
Shiraz
13.1 Bé°
Cabernet
10 Bé°
So, when we remember that this number is a close enough approximation to the amount of alcohol in the finished wine, then a lot of these varieties are not far off picking!
Let’s continue this next week when we’ll discuss acidity and pH. I bet you’re as excited as I am!!